 The size I use for a blank to start from is 62" x 12". Of course anyone can
alter any of my dimensions as they see fit,,, this is just what I use.
The size I use for a blank to start from is 62" x 12". Of course anyone can
alter any of my dimensions as they see fit,,, this is just what I use.
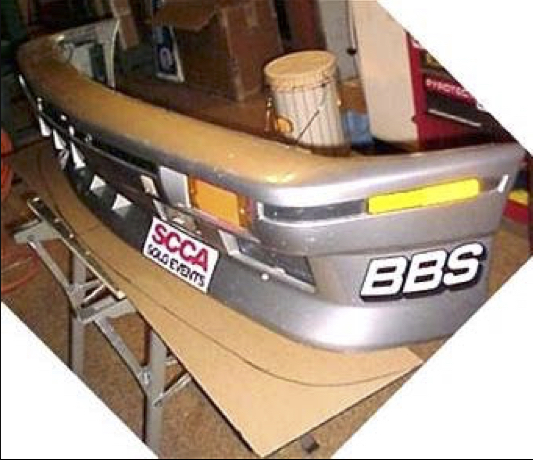
I choose a 3" splitter depth which puts it pretty even with the front of the bumper, if you dropped a plumb line down from the bumper it's pretty close. This distance is quite arbitrary, Don Fields built his own and his must come out 4" at least, maybe more. I suppose it could also easily be made adjustable by making separate sets of holes ---or--- possibly "slotting" the holes you use to mount it. I just set mine at 3" and left it there and it works pretty well. Anyone can decide what works for them. Again since this is a custom piece people can make it whatever they want in any dimension,,, these are just the decisions I made, trying to keep it close to a real E3 splitter at full extension. |
As you will see in the pictures I simply set the bumper cover on the blank
pushed all the way to the front and trace the front outline.
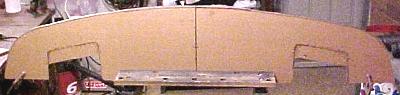
Then push it to the back of the blank and trace the back of the blank.
The depth of the blank at 12" gives approx. a 3" extension. Altering the
depth of the blank alters the depth of the extension.
After I trace my shapes I simply cut out the splitter with a jigsaw and a
plastics blade.
Slow and steady are the key words here. Don't try and cut Acrylic to fast,,,
it will melt and clog the blade. Take you time and it comes out not needing
too much "finish work" Ask me how I know.
Keep in mind now this is a hand cut piece,,, so its level of perfection and
its level of finish will totally depend on the skill of the guy making it,,,
and the amount of time spent "finishing" it.
|
| Next page » |
|
|